
One ceiling light is rarely enough
A central ceiling fixture can leave the vanity, toilet, shower, and corners in shadow. Layering light gives the eyes more consistent information as someone moves through the room.
Start by identifying dark zones at the time the bathroom is actually used—especially early morning and nighttime.
Ambient light
Ambient lighting provides the room’s general brightness. Multiple ceiling fixtures or a well-positioned fixture can reduce the contrast between bright and dark zones.
Choose diffused fixtures when possible so the light source is not painfully visible from below.
Mirror and vanity lighting
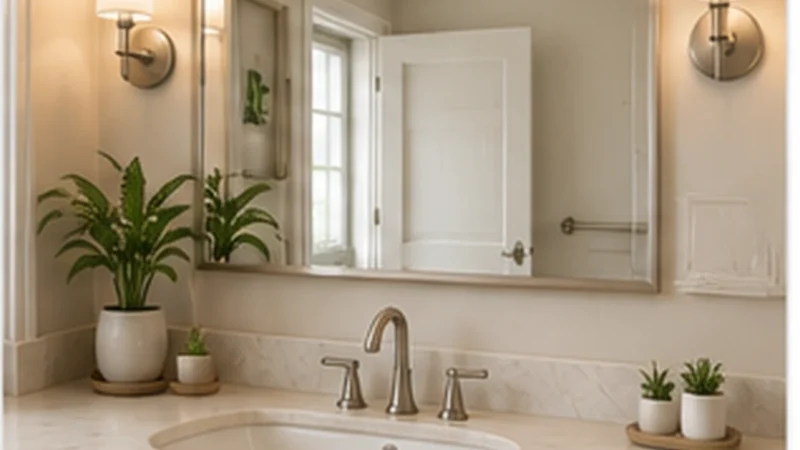
Lighting only from above can cast deep shadows on the face. Vertical or side lighting around a mirror can improve visibility for grooming.
Keep the brightness comfortable and avoid exposed bulbs that create glare.
Shower and tub lighting
The bathing area should not become the darkest part of the room. Fixtures installed over or near wet locations must be listed and installed for the appropriate location.
Do not improvise with portable lamps or extension cords in a bathroom.
Nighttime lighting
A low-level nightlight or motion-activated path light can make the route easier to see without turning on an extremely bright fixture. It should reveal thresholds, floor objects, and the toilet location.
Avoid lighting that creates strong reflections on glossy floors.
Switches and controls
A switch should be easy to find before entering the dark room. Illuminated switches, motion sensors, or smart controls can help, but they should not make basic lighting dependent on a phone app or internet connection.
If a sensor is used, provide a predictable manual override.
Color and contrast
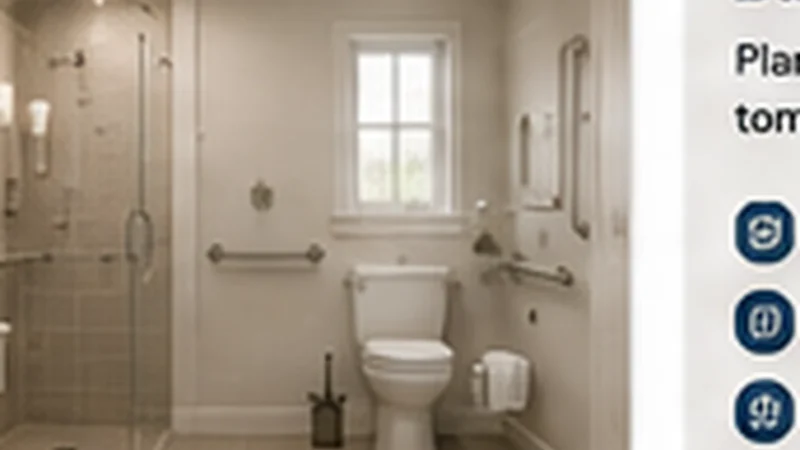
Lighting works with surface color. A white toilet against a white floor and wall can be harder to distinguish than fixtures or accessories with some contrast. Contrast at the edge of a shower threshold or between the floor and wall can improve visual orientation.
Use contrast intentionally rather than turning the room into a collection of high-contrast stripes.
Quick Reference
| Lighting layer | Purpose | Common location |
|---|---|---|
| Ambient | Overall room visibility | Ceiling |
| Task | Grooming/detail work | Both sides of mirror or vanity |
| Wet-area | See shower/tub floor and controls | Approved fixture at bathing area |
| Night path | Low-level navigation | Baseboard, plug-in, toe-kick, or sensor light |
Light the face without creating mirror glare
A bright light directly above the mirror can cast shadows under the eyes and chin, while an exposed bulb can reflect harshly in the glass. Lighting from both sides or a well-diffused fixture can provide more even illumination for shaving, grooming, and reading labels.
Stand where you normally use the mirror and check whether your face is evenly lit. If you squint or see a strong reflected bulb, the problem may be glare rather than insufficient brightness.
Make wet areas easy to see
The shower or tub needs enough light to see water, controls, soap, the floor surface, and changes in level. A shower curtain or enclosure can block light from the main ceiling fixture.
Use fixtures that are properly rated for the location and have electrical work performed to applicable requirements. Do not add an ordinary lamp or extension cord near water.
Make nighttime light automatic or easy to reach
A bathroom trip at night should not require crossing a dark room to reach a switch. A bedside control, low-level plug-in light, motion light, or illuminated switch may make the route easier.
Test the light from the bedroom with the rest of the house dark. It should help you orient yourself without creating intense glare when you first wake.
Use contrast to help fixtures stand out
Lighting works together with color. A white toilet against a white wall or a pale grab bar on pale tile can be harder to distinguish when the light is dim.
You do not need dramatic colors everywhere. Small differences between the floor, wall, fixtures, controls, and support can make edges easier to recognize.
Choose the next change around the way you use the bathroom
You do not need every product marketed as accessible or senior-friendly. Choose the change that makes a real part of your daily routine easier, safer, or less tiring. Then use the bathroom normally and decide whether the improvement solved the problem you started with.
When the work involves structural attachment, plumbing, electrical work, waterproofing, major layout changes, or local permit requirements, use qualified help for that part of the project. A clear description of the difficulty will help you ask better questions and compare options.
Before you buy or install anything
Measure the space and write down the exact problem you want the new item to solve. Bathroom products can look compact in a photo and feel very different once they are placed beside a toilet, shower door, vanity, or narrow walkway. Check door swings, drawer openings, shower entry, and the space your feet need while turning.
If the item is intended to support body weight, connect to plumbing or electricity, or become part of a waterproof shower system, make secure installation part of the purchase decision. The product itself is only one part of whether the change will work safely.
Keep maintenance in the decision
A bathroom improvement should still be practical six months after installation. Ask how the surface is cleaned, whether hardware needs tightening, whether batteries or filters need replacement, and how you will notice wear. Equipment that is difficult to clean or inspect may not remain useful.
Build a simple habit around the change. Wipe water from a problem area, check rubber feet on a shower chair, keep grab bars clear, or test a nighttime light occasionally. Small maintenance steps help the improvement continue doing the job you bought it to do.
Make one change at a time when you can
If the bathroom does not require a full remodel, smaller changes can help you learn what actually makes the room easier. Improve lighting, move storage, fix an unstable surface, or add properly installed support, then use the room before deciding whether another change is necessary.
This approach can prevent an expensive project from solving the wrong problem. It also gives you a clearer explanation when you do need a contractor: you can describe what you already tried and what still causes difficulty.
Sources
Frequently Asked Questions
Is brighter always better?
No. Excessive brightness and glare can be uncomfortable. Even, diffused illumination is usually more useful than one harsh bright source.
Should I use motion-sensor lights?
They can be helpful, especially at night, but the room should still have simple manual controls.
Can I put any light fixture over a shower?
No. Fixtures near wet locations must be listed and installed for that location under applicable electrical requirements.
What color temperature is best?
Comfort varies. Neutral or warm-neutral light is common in homes; consistency and adequate color rendering can matter more than chasing one exact number.
What is the cheapest lighting improvement?
Replacing a weak bulb with an appropriate brighter lamp, cleaning shades, adding a nightlight, and reducing dark obstructions can help before larger electrical work.
Keep this visual on Pinterest
Save the infographic so you can return to the checklist or comparison when you need it.
 Save on Pinterest