Find the shadows first
Stand where food is actually prepared. If your body blocks the ceiling light, the counter may be darker than the room appears. Check the sink, range, pantry, and the path between rooms at different times of day.
Lighting upgrades should target those dark task zones rather than simply increasing the wattage of one central fixture.
Ambient lighting
Ambient light makes the room easy to navigate. Multiple fixtures or a well-distributed source can reduce high-contrast pools of light and shadow.
Diffused light is usually more comfortable than exposed high-intensity lamps.
Under-cabinet task lighting
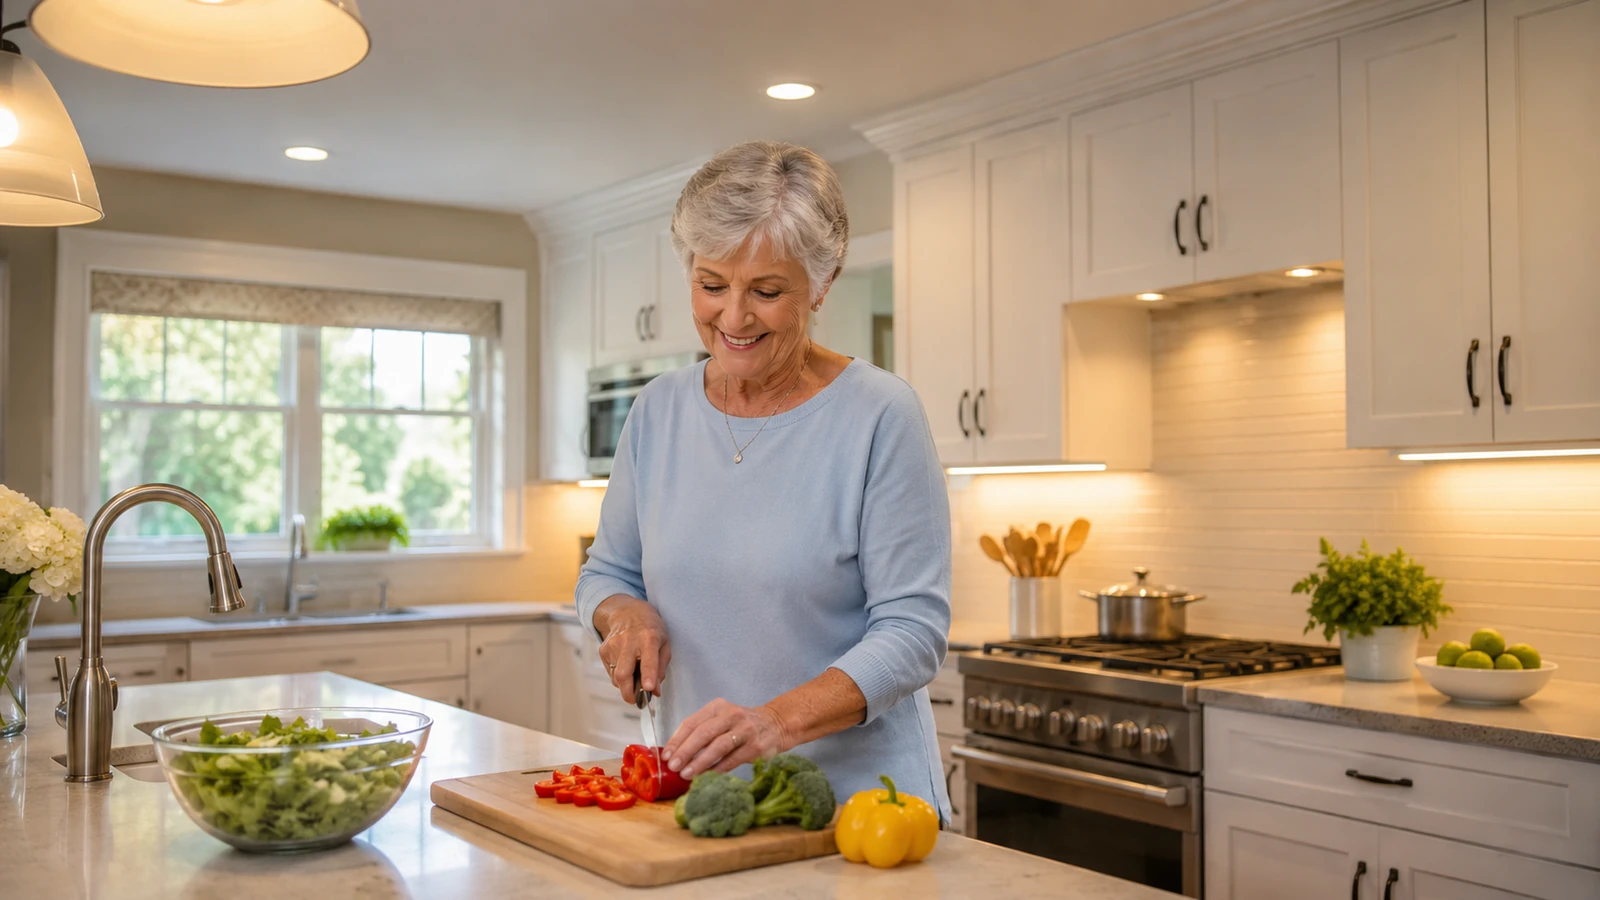
Upper cabinets often cast shadows on the worktop. Under-cabinet lighting can illuminate chopping, reading labels, and appliance controls.
Choose continuous, even illumination where possible. Visible points of intense light can create glare on polished counters.
Sink and range areas
The sink and cooking surface need clear visibility. Range hoods often include task lights, but they vary widely in brightness and quality.
CPSC reminds consumers that cooking is a major source of home fires and advises staying in the kitchen while using the stove. Good visibility supports safer cooking, but it does not replace attention.
Switches and controls
Place controls where they can be reached before entering a dark zone. Rocker switches, illuminated controls, or clearly labeled smart controls may be easier to use.
Smart lighting should remain operable without a phone or voice assistant.
Reduce glare
Highly polished countertops, floors, glossy cabinet fronts, and exposed bulbs can create reflections. Use diffusers, matte finishes, blinds, and fixture positioning to reduce glare while preserving brightness.
The goal is contrast at the task—not glare from the light source.
Quick Reference
| Layer | Purpose | Good locations |
|---|---|---|
| Ambient | Move safely through room | Ceiling/general fixtures |
| Task | See food and tools clearly | Under cabinets, prep areas |
| Sink | Washing and cleanup | Over sink or nearby task light |
| Range | See cooking surface and controls | Range hood or dedicated task fixture |
| Night/path | Low-level navigation | Toe-kick or nearby route lighting |
Check lighting at the exact work surface
A kitchen may look bright overall while the counter is still dark because your body or the upper cabinets block the ceiling light. Stand where you chop, read labels, and wash dishes to see where shadows fall.
Add task lighting to the locations where you actually work. Under-cabinet lighting is especially useful when upper cabinets shade the counter.
Light the floor and entrances too
Kitchen lighting is not only for food preparation. The route from the doorway to the refrigerator, sink, and table should be easy to see, especially when the room is entered at night.
Check transitions between the kitchen and nearby rooms. A bright kitchen beside a dark hallway can make it harder for your eyes to adjust.
Reduce reflections from glossy surfaces
Polished counters, shiny floors, stainless appliances, and uncovered bulbs can create glare. Strong reflections may make edges and spills harder to see even when the room is bright.
Use diffused fixtures, shades, and thoughtful placement so light reaches the task without shining directly into your eyes.
Make controls simple and reachable
Lighting is more useful when switches are easy to find before you enter a dark area. Smart controls can be convenient, but essential lights should remain easy to operate manually.
If you add dimmers or motion controls, make sure everyone using the kitchen understands how they work and can turn the lights on without an app.
Choose the next change around the way you actually use the kitchen
You do not need to make the kitchen look different simply because you are over 55. Focus on the repeated task that feels awkward, tiring, hard to see, or difficult to reach. Solve that problem first, then see whether the rest of the room still works well.
If a change involves cabinetry, electrical work, plumbing, structural changes, gas, or another specialized task, use qualified help for that part of the project. A clear explanation of the problem you are trying to solve will make it easier to compare recommendations.
Keep the kitchen easy to maintain
A kitchen improvement should not create a new cleaning or maintenance burden. Pull-outs need to move smoothly, mats need to stay flat, lighting needs reachable controls, and frequently used surfaces should be simple to wipe down. Think about who will clean, repair, or adjust the new feature after the initial installation.
When two options solve the same problem, the one that is easier to understand and maintain may serve you better over time. Convenience only lasts when the feature continues working during ordinary busy weeks.
Make one change before rebuilding the whole room
If the kitchen does not require major construction, try the smallest practical improvement first. Move storage, change a light, add a pull-out, rearrange a work zone, or give a heavy appliance a permanent home. Then use the kitchen for several days and see whether the change solved the problem.
This approach can prevent expensive work from solving the wrong issue. It also gives you clearer information if you later hire a designer or contractor because you can explain what you already tried and what remains difficult.
Ask practical questions before you spend money
When comparing a product or renovation, ask what task it makes easier, what maintenance it requires, how it affects the surrounding space, and whether everyone who uses the kitchen can operate it. A feature is not automatically useful because it is marketed as accessible or senior-friendly.
Measure carefully and compare the full installed cost, especially when work involves cabinetry, electrical changes, plumbing, counters, flooring, or appliance relocation. Use qualified professionals where the project requires specialized work or permits.
Recheck the full kitchen route after the change
Every improvement affects the space around it. A new cart can narrow a walkway. A lowered cabinet can reduce counter clearance. A brighter fixture can create glare on a polished surface. A mat can make standing more comfortable while adding a raised edge near a doorway.
After making a change, walk from the entrance to the refrigerator, sink, cooking area, table, and the storage you use most. Test the route while carrying a plate, a grocery bag, or another item you normally handle. Keep the change if it makes the routine easier without creating a new problem somewhere else.
Sources
Frequently Asked Questions
Is brighter kitchen lighting always better?
No. Even lighting with controlled glare is more useful than one extremely bright source.
What is the best place for under-cabinet lighting?
Position it to illuminate the work surface evenly without creating distracting reflections or visible glare.
Should smart lights replace wall switches?
No. Basic lighting should remain easy to operate manually.
Can I install lighting over the range myself?
Electrical and range-hood work should follow manufacturer instructions and local electrical requirements. Use a qualified professional when needed.
What is the cheapest lighting improvement?
Clean fixtures, replace weak lamps with appropriate brighter ones, and add simple task lighting where shadows are worst.
Keep this visual on Pinterest
Save the infographic so you can return to the checklist or comparison when you need it.
 Save on Pinterest